Building vs Buying a Beehive: Cost, Time and Convenience Compared
Order a flat-pack hive and a large box arrives: a stack of machined panels, a bag of screws and instructions that assume you already know the difference between a brood box and a super. Order the ready-made version and you pay extra to skip all of that. Neither is automatically the right choice for a beginner.
The decision comes down to three things — money, time and confidence with basic tools. Here's how the options compare in practice, including the parts the product photos never show.
The three routes into a first hive
Most new beekeepers choose between three options, and it helps to name them clearly before comparing anything.
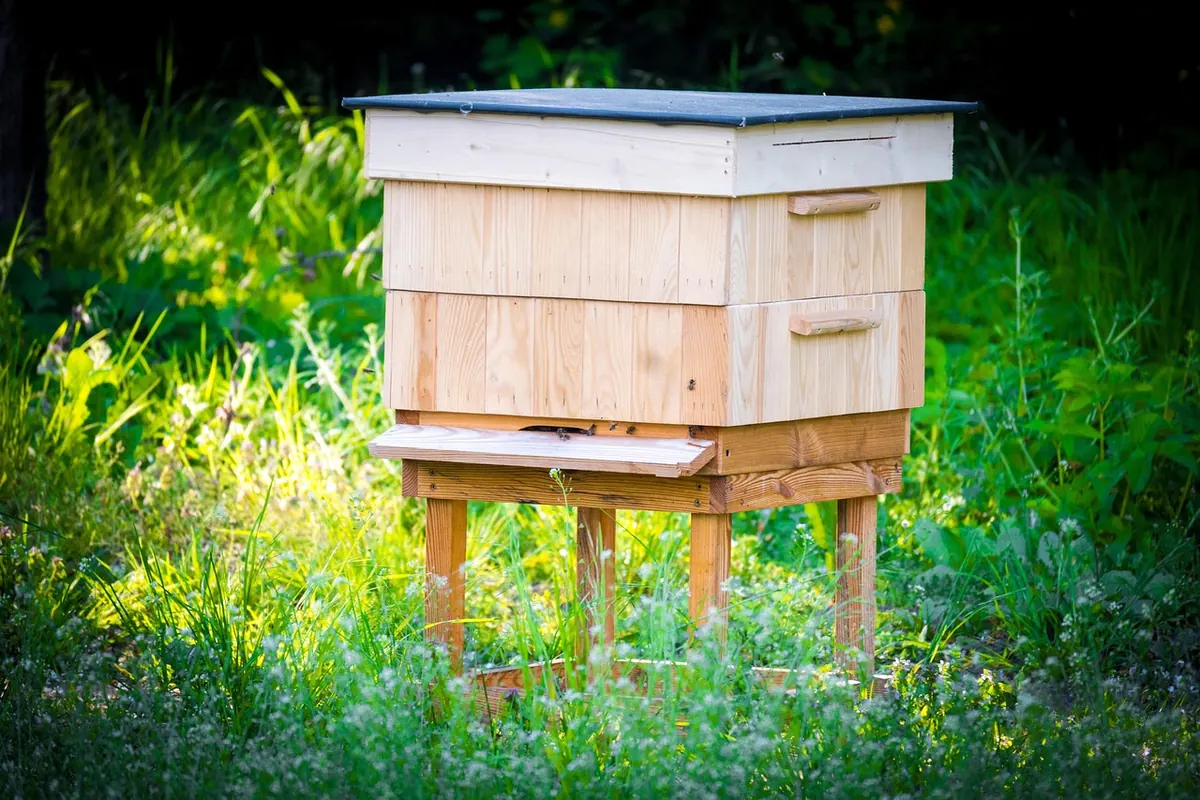
- Ready-made, assembled hive. Arrives built and often treated, usually with roof, floor, brood box, supers and crown board ready to go. Frames and foundation may still be separate.
- Flat-pack kit. The same hive in pieces. Cheaper, and it stores flat over winter.
- Building from scratch. Plans, timber and your own measurements. Economical if you already own the tools and have a dry workspace; expensive if you don't.
A fourth option sits slightly apart: hives moulded from dense polystyrene. They usually arrive assembled or as simple clip-together kits, and they behave differently from timber — warmer, lighter and harder to repair.
Cost: what you pay up front, and what you pay later
On the sticker, flat-pack wins. The same hive in pieces usually costs noticeably less than its assembled equivalent, because you're supplying the labour. That gap narrows once you add the consumables: waterproof exterior glue, decent screws, clamps if you don't own any, a bee-safe wood preserver and the time to apply it.
Building from scratch looks cheapest and often isn't. Timber in small quantities is rarely as cheap as you expect, and you'll be cutting joints to tolerances that matter. If you already have a workshop and offcuts, it can be genuinely economical. If you're buying a table saw to save money on one hive, you're not saving money.
Where the hidden costs sit
- Frames and foundation, often sold separately from the hive itself
- Wood preserver and a brush, plus enough to redo it every few years
- Glue, exterior-grade screws and clamps for a flat-pack build
- Spare parts — a second floor, an extra roof, supers for a strong season
- A second hive's worth of everything, because one colony rarely stays one colony
Keep the hive in proportion. For most beginners, the bees, protective clothing, a smoker and an extractor make the hive a modest line item. Saving a few pounds on a kit that warps within a season is a bad trade.
Time: assembly, curing and the jobs nobody mentions
A flat-pack single hive is an evening's work for someone comfortable with a drill, and a slow, careful weekend for someone who isn't. Rushing it shows up later, usually as a box that won't sit square or a joint that opens in the rain.
Assembly order matters more than speed:
- Check every panel against the instructions and dry-fit the box before touching glue.
- Glue and screw the joints, working on a flat surface so the box stays square. Measure the diagonals — if they match, the box is true.
- Fill any knots, sand the edges, and treat the outside only.
- Let the treatment cure properly before bees go anywhere near it, following the manufacturer's drying times rather than guessing.
- Make up frames and foundation, which beginners always underestimate — allow an hour or two for a full brood box.
Frames matter here. Whether you buy assembled or flat-pack, you'll still be tapping foundation into frames and possibly wiring them. That time is the same either way.
Tools you'll actually use
- A cordless drill with a driver bit and a pilot bit
- Two or three clamps, ideally more
- A try square and a tape measure
- Waterproof wood glue and exterior-grade screws
- A bee-safe preserver — check the label, and never treat surfaces bees will contact with anything not intended for the job
Durability: what happens after a couple of winters
Timber hives age well if they're assembled well. The weak points are joints and end grain, which is exactly where a hurried flat-pack build suffers. A ready-made hive from a reputable maker has usually been machined to consistent tolerances and glued by someone who has done it hundreds of times.
Western red cedar is the traditional choice: light, naturally resistant to rot, and it weathers to a soft grey. Pine is cheaper and needs more regular attention. Ply and softwood kits vary enormously in quality, and knots, thin panels and joints that need filler are all common. Polystyrene hives don't rot, are light to lift and hold warmth, which suits cooler, damper sites, but they can be cracked and are less straightforward to repair.
Whatever the material, the same rules apply: keep the roof sound, make sure the floor drains and lifts the hive slightly off the ground, and check straps and joints before winter. A hive that stays dry will outlast several colonies.
One caution on second-hand hives: they're cheap for a reason. Used comb and frames can carry disease, and some brood diseases are serious enough that most beekeepers avoid buying used frames at all. If you're unsure, ask your local association or a bee inspector before you buy — and if anything about the equipment looks off, walk away.
Matching the choice to your situation
There's no universally correct answer, but the fit is usually obvious once you're honest about your circumstances.
- Choose a flat-pack if you enjoy making things, have a dry space to work and more evenings than spare cash.
- Choose ready-made if your time is short, you want the hive square the first time, or you'd rather learn about bees than about joinery.
- Build from scratch if you already have the tools and timber, and you're happy working to a plan measured in millimetres.
- Consider polystyrene if you're in an exposed or damp spot and lifting heavy boxes is difficult.
Before you order anything
Pick your hive format first — National, Langstroth and commercial boxes don't mix, and swapping later means replacing everything. Handle a hive before you buy one: most associations run apiary sessions where you can lift a brood box and see how the parts fit together.
Then buy one more box than you think you need, and a spare roof. Colonies grow faster than new beekeepers expect, and having a super or a spare floor in the shed on a warm May evening is worth far more than the money you saved on a slow build in February.
Photo: Bazela / Pixabay

Winterising Your Apiary: How to Prepare Hives for a British Winter
A practical guide to getting hives through a British winter: autumn feeding, varroa treatment, mouse...
Swarm Season in the UK: How to Prevent, Catch and Rehome a Swarm
Why honeybee colonies swarm in spring and summer, how to reduce the risk with timely inspections, and how...
About Us